Your cart is currently empty!
How Do I Winterize My RV?
Are you ready to prepare your RV for the colder months ahead? Winterizing your RV is essential to protect it from freezing temperatures and potential damage. By following a few simple steps such as draining the water system, adding antifreeze, and insulating any exposed pipes, you can ensure that your RV is ready to brave the winter weather without any issues. Stay warm and cozy on your travels by taking the time to properly winterize your RV.
How Do I Winterize My RV?
Hey there! Are you wondering how to properly winterize your RV to ensure it stays in top condition during the colder months? You’ve come to the right place! In this article, we’ll walk you through the step-by-step process of winterizing your RV to protect it from freezing temperatures and prevent any potential damage. Whether you’re a seasoned RVer or a newbie, we’ve got you covered. Let’s dive in!
Why is Winterizing Your RV Important?
Before we get into the nitty-gritty of the winterizing process, let’s first understand why it’s essential to winterize your RV. Freezing temperatures can wreak havoc on your RV’s plumbing system, water lines, and appliances. If water is left in the lines during the winter, it can freeze, expand, and cause pipes to burst. This can lead to costly repairs and potential water damage. By properly winterizing your RV, you’ll protect your investment and extend the life of your vehicle.
When Should You Winterize Your RV?
The timing of when to winterize your RV can vary depending on where you live and the climate in your area. As a general rule of thumb, you should winterize your RV before the first freeze of the season. Ideally, you should aim to winterize your RV when temperatures consistently drop below 32 degrees Fahrenheit. It’s better to be safe than sorry, so don’t wait until the last minute to winterize your RV.
What Supplies Do You Need?
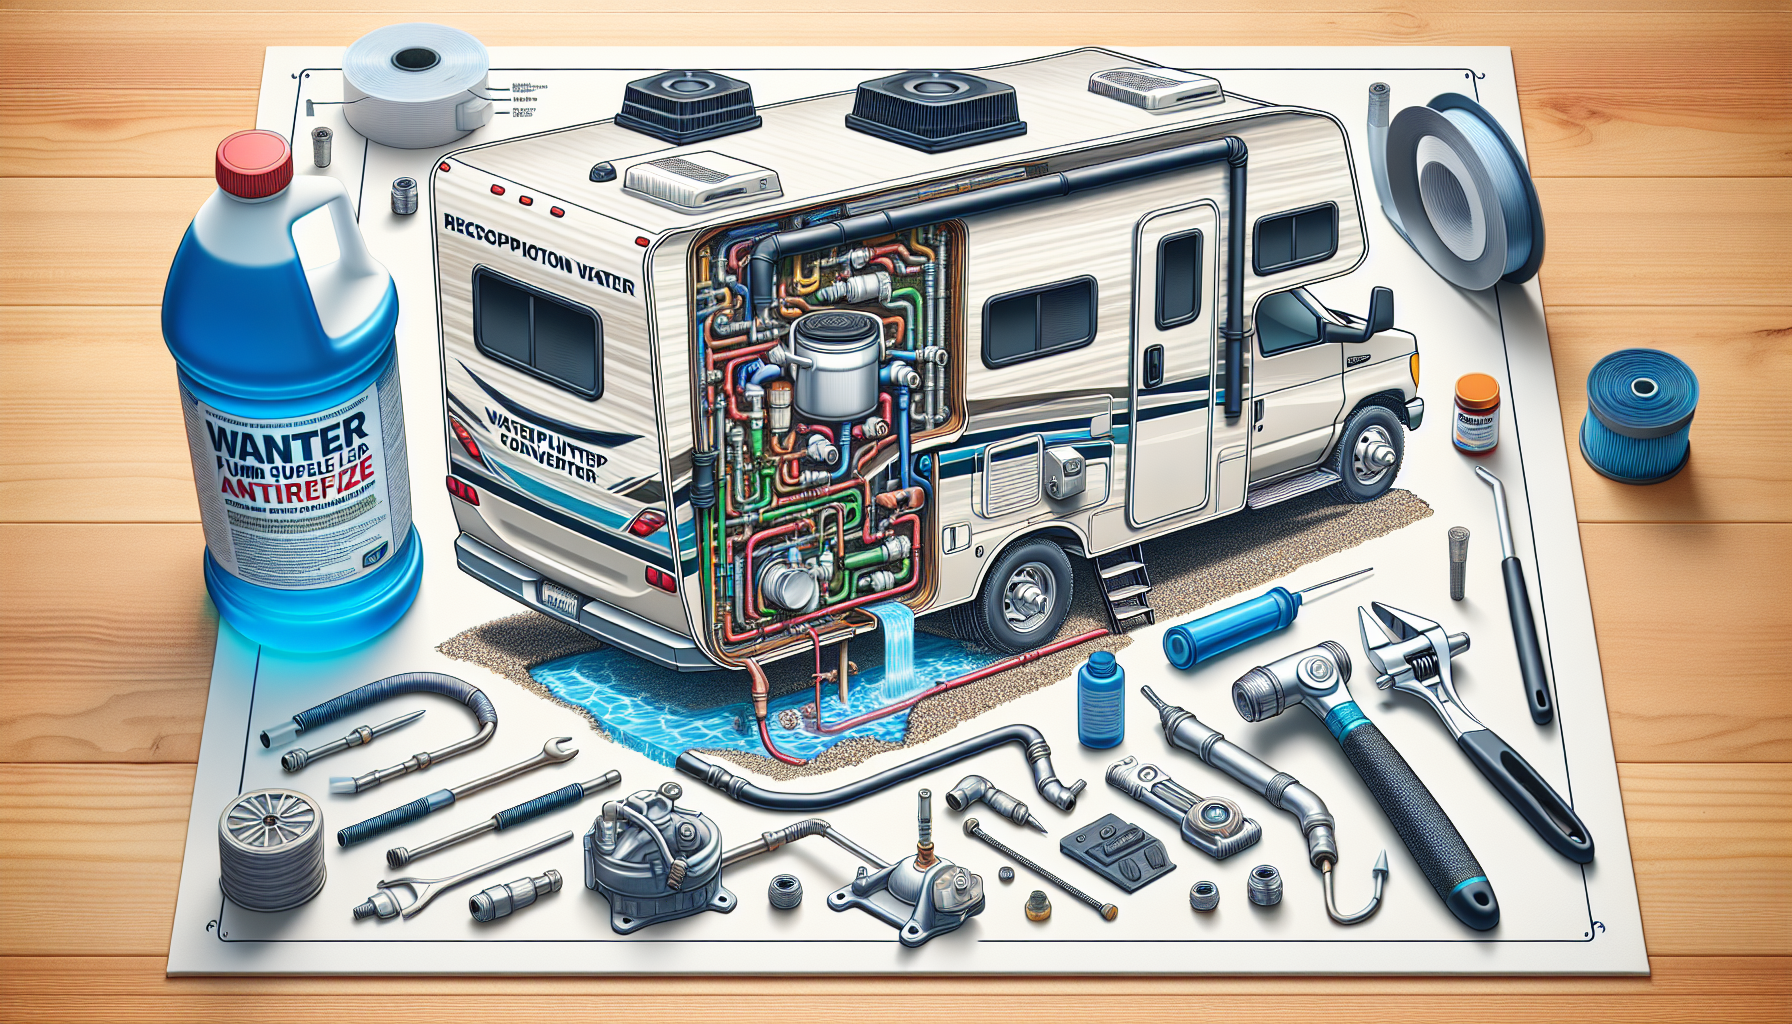
Before you begin the winterizing process, make sure you have all the necessary supplies on hand. Here’s a list of essential supplies you’ll need:
- RV antifreeze
- Water pump converter kit
- Compressed air
- Wrenches and screwdrivers
- Water heater bypass kit
- RV-specific cleaner or bleach
- Rubber gloves
- Bucket and hose
Now that you have everything you need let’s move on to the step-by-step process of winterizing your RV.
Step 1: Drain and Flush the Water System
The first step in winterizing your RV is to drain and flush the entire water system. Start by draining your water heater and fresh water tank. Open all faucets and drain valves to remove any remaining water from the lines. Flush the system with RV-specific cleaner or a bleach solution to remove any bacteria or residue.
Once the system is drained and flushed, it’s time to bypass the water heater. This step is crucial to prevent antifreeze from entering the water heater tank. Install a water heater bypass kit to close off the water heater and allow antifreeze to flow through the rest of the system.
Step 2: Pump Antifreeze Through the Water Lines
Next, it’s time to pump antifreeze through the water lines to protect your RV from freezing temperatures. Use an RV antifreeze that is specifically formulated for potable water systems. Connect a water pump converter kit to the water intake hose and place the other end into a container of antifreeze.
Turn on the water pump and open each faucet (hot and cold) one at a time. Let the antifreeze run through the lines until you see pink antifreeze coming out of all faucets, showerheads, and toilets. Don’t forget to flush the toilet multiple times to ensure antifreeze reaches the entire system.
Step 3: Check and Protect Exterior Components
While you’re in the process of winterizing your RV, don’t forget to check and protect the exterior components as well. Inspect the roof, seals, and windows for any signs of wear or damage. Make any necessary repairs to prevent leaks and water damage during the winter months.
Cover any exterior vents, including the refrigerator vent and furnace exhaust, to prevent critters from nesting inside your RV. You can use mesh covers or specialized vent covers to keep pests out while still allowing for proper ventilation.
Step 4: Prepare Appliances and Systems
To ensure your appliances and systems are properly protected during the winter, you’ll need to take a few extra steps. Start by draining and cleaning the black and gray water tanks. You can use RV-specific cleaning products to break down waste and odors in the tanks.
If your RV has a washer/dryer or ice maker, make sure to drain and clean these appliances as well. Remove any water filters and store them in a safe place to prevent freezing.
SimpleSimonTravel.com offers more help.
Step 5: Store Your RV Properly
Once you’ve completed all the necessary steps to winterize your RV, it’s crucial to store it properly to minimize potential damage. Find a secure storage location that is protected from harsh weather conditions. If possible, store your RV indoors to shield it from snow, ice, and wind.
Cover your RV with a breathable, UV-resistant cover to protect it from the elements. Make sure the cover fits snugly to prevent moisture buildup and mold growth. Additionally, consider using tire covers to protect your tires from UV rays and prevent dry rot.
Final Thoughts
Winterizing your RV is an essential step to protect your investment and ensure your vehicle stays in excellent condition during the colder months. By following the steps outlined in this article and taking the necessary precautions, you can rest assured that your RV will be ready to hit the road when spring rolls around.
We hope this guide has been helpful in answering your question, “How do I winterize my RV?” If you have any further questions or need additional assistance, feel free to reach out. Happy winterizing!