Your cart is currently empty!
How Do I Troubleshoot RV Electrical Issues?
How Do I Troubleshoot RV Electrical Issues?
Have you been experiencing electrical problems in your RV and are unsure of how to troubleshoot them? You’re in the right place! In this article, we will guide you through the process of identifying and resolving common RV electrical issues. By the end of this article, you’ll feel more confident in tackling any electrical problems that may arise during your travels.

Common RV Electrical Issues
Electrical issues in RVs can be frustrating, but most of them are easily diagnosable and fixable. Common RV electrical issues include:
- Dead Battery
- Tripped Circuit Breakers
- Faulty Outlets
- Inverter Problems
- Overloaded Circuits
Dead Battery
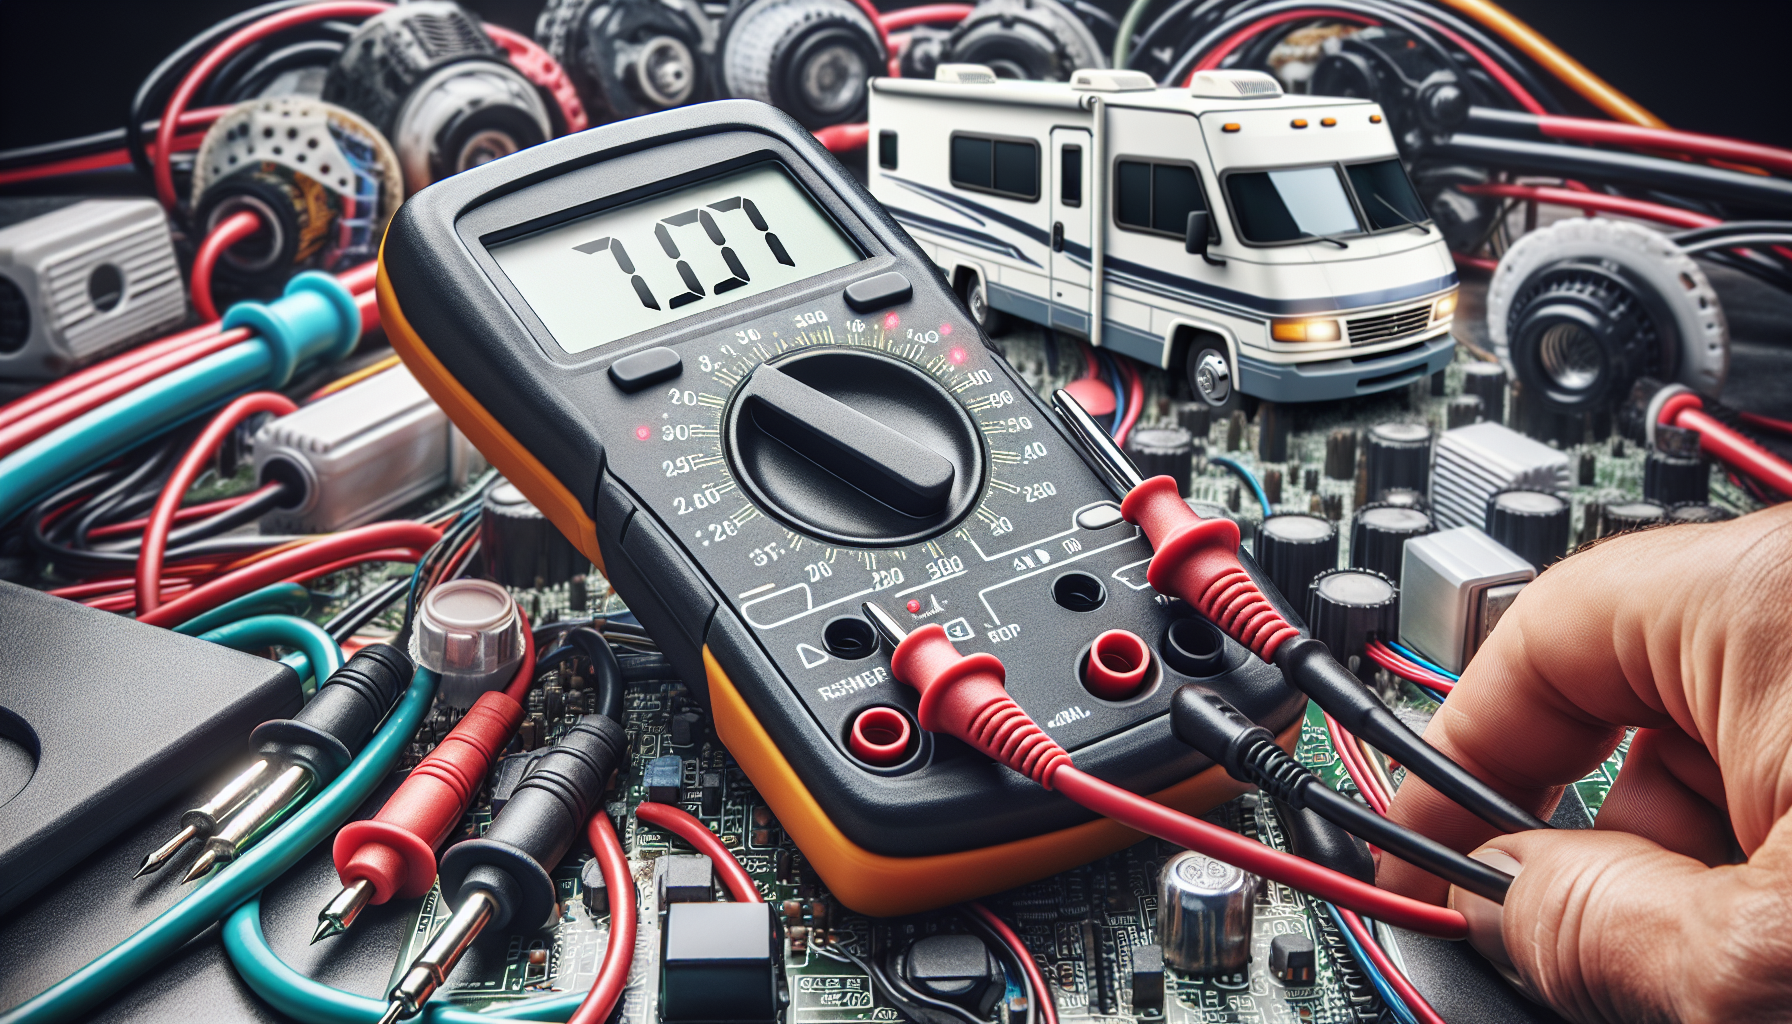
If your RV won’t start, the first thing to check is the battery. Start by checking the battery connections to ensure they are secure and free of corrosion. If the connections are fine, use a multimeter to test the battery voltage. A fully charged battery should have a voltage reading of around 12.6 volts. If the reading is lower, you may need to recharge or replace the battery.
Tripped Circuit Breakers
If certain appliances or electrical outlets in your RV are not working, it could be due to a tripped circuit breaker. Locate your RV’s electrical panel and check for any breakers that are in the “off” position. Reset the tripped breaker by turning it all the way to the “off” position, then back to the “on” position. If the breaker continues to trip, there may be a larger electrical issue at play that requires professional attention.
Faulty Outlets
If you’re experiencing issues with specific electrical outlets in your RV, it’s possible that the outlets themselves are faulty. Start by testing the outlet with a multimeter to ensure it’s receiving power. If the outlet is not receiving power, check the wiring and connections behind the outlet for any damage or loose connections. If the outlet is still not functioning, you may need to replace it with a new one.
Inverter Problems
An inverter is responsible for converting DC power from your RV’s battery into AC power that can be used to operate household appliances. If you’re experiencing issues with your appliances not receiving power, the inverter may be the culprit. Check the inverter for any visible damage or loose connections. If everything looks fine, you may need to have the inverter professionally inspected and repaired.
Overloaded Circuits
Overloaded circuits can cause electrical issues in your RV, such as flickering lights or appliances that won’t turn on. To prevent overloaded circuits, be mindful of the number of appliances running at the same time. If you suspect an overloaded circuit, unplug some appliances and reset the breaker to see if that resolves the issue. Consider adding additional circuits or upgrading your RV’s electrical system to accommodate your power needs.
Tools Needed for Troubleshooting
Before you begin troubleshooting electrical issues in your RV, it’s important to have the right tools on hand. Here are some tools you may need:
- Multimeter: A multimeter is essential for testing voltage, continuity, and resistance in your RV’s electrical system.
- Circuit Tester: A circuit tester can help you determine if an outlet is receiving power.
- Wire Strippers and Crimping Tool: These tools are necessary for repairing or replacing damaged wiring in your RV.
- Electrical Tape: Electrical tape can be used to secure and insulate electrical connections.
- Screwdrivers: Different types of screwdrivers will be needed to open electrical panels and access wiring.
Having these tools readily available will make troubleshooting electrical issues in your RV much easier and more efficient.
Safety Precautions When Working with RV Electrical Systems
Working with RV electrical systems can be dangerous if proper safety precautions are not taken. Here are some safety tips to keep in mind when troubleshooting RV electrical issues:
- Always disconnect the RV from shore power and turn off the battery before working on the electrical system.
- Use insulated tools to prevent shock hazards.
- Do not attempt to repair or modify electrical components if you are unsure of what you’re doing. Seek professional help if needed.
- Be cautious when working in tight spaces or near water sources to prevent accidents.
- Wear protective gear, such as gloves and safety goggles, to protect yourself from electrical hazards.
By following these safety precautions, you can reduce the risk of injury or damage when working on your RV’s electrical system.
Step-by-Step Guide to Troubleshooting RV Electrical Issues
Now that you’re equipped with the knowledge and tools needed to troubleshoot RV electrical issues, let’s walk through a step-by-step guide to help you identify and resolve common problems.
Step 1: Gather Information
Before diving into troubleshooting, gather as much information as possible about the electrical issue you’re experiencing. Note which appliances or outlets are affected, when the problem started, and any other relevant details that may help you pinpoint the root cause.
Step 2: Inspect the Electrical System
Begin by visually inspecting your RV’s electrical system, including the battery, inverter, electrical panel, outlets, and wiring. Look for any signs of damage, loose connections, or corrosion that may be contributing to the issue.
Step 3: Test Voltage and Continuity
Use a multimeter to test the voltage and continuity of key components in your RV’s electrical system. Check the battery voltage, outlet power, and inverter output to ensure they are within normal operating ranges. Test for continuity in electrical wiring to identify any breaks or short circuits.
Step 4: Reset Circuit Breakers
If you suspect a tripped circuit breaker is causing the issue, locate your RV’s electrical panel and reset any tripped breakers. Monitor the affected appliances or outlets to see if they regain power after resetting the breakers.
Step 5: Check Ground Fault Circuit Interrupters (GFCIs)
GFCIs are designed to protect against electrical shocks by interrupting the flow of power when a ground fault is detected. Locate the GFCIs in your RV and test them to ensure they are functioning properly. Reset any tripped GFCIs and test the affected outlets for power.
Step 6: Inspect Outlets and Wiring
If specific outlets are not working, inspect the outlets and wiring behind them for any damage or loose connections. Use a circuit tester to check if the outlets are receiving power. Replace any faulty outlets or repair damaged wiring to restore power to the affected appliances.
Step 7: Monitor Appliance Usage
To prevent overloaded circuits, be mindful of the number of appliances running at the same time. Unplug unnecessary appliances and monitor the power usage to ensure that circuits are not being overloaded.
Step 8: Seek Professional Help
If you have followed the above steps and are still unable to resolve the electrical issue in your RV, it may be time to seek professional help. Contact a certified RV technician or electrician to inspect and repair the problem safely and efficiently.

Conclusion
Troubleshooting RV electrical issues can seem daunting, but with the right knowledge and tools, you can tackle most problems effectively. By following the step-by-step guide outlined in this article and practicing safety precautions, you can identify and resolve common electrical issues in your RV with confidence. Remember to stay patient and methodical in your approach, and don’t hesitate to seek professional help if needed. Happy troubleshooting!